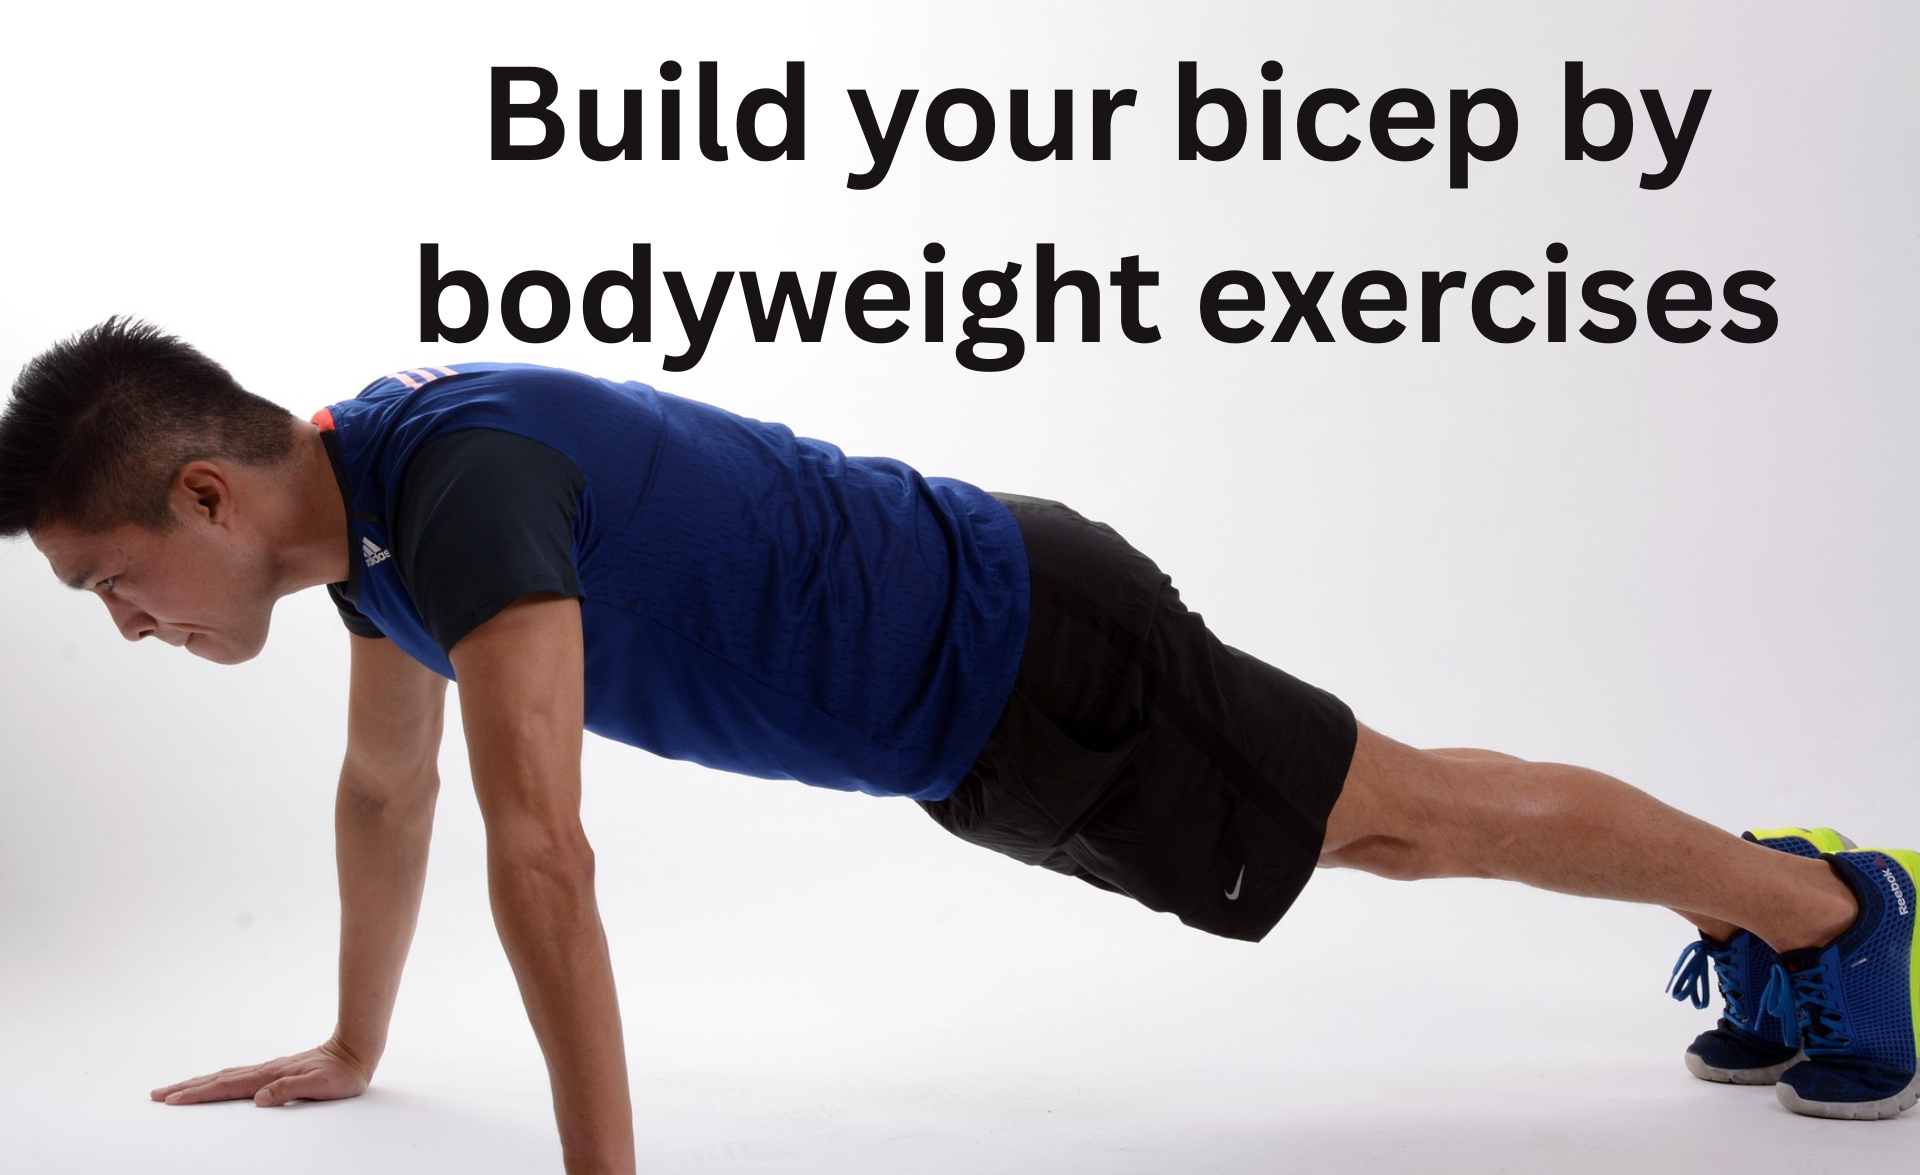
Push-ups are one of the most effective bodyweight exercises out there — they require no equipment, can be done anywhere, and target multiple muscle groups including the chest, shoulders, triceps, and core. But what do you do when regular push-ups no longer challenge you? If you’re looking to how make push-ups harder, you’re in the right place. In this guide, we’ll break down how to make pushups more difficult, the science behind progression, and 15 advanced push-up variations that will help you build serious upper body strength and muscle.
Why Make Push-Ups Harder?
Push-ups are great for beginners, but over time your muscles adapt, and gains begin to plateau. Making push-ups harder ensures:
- Continued muscle growth
- Improved muscular endurance
- Greater core and stability challenge
- Enhanced functional strength
By increasing the intensity, you’re turning a basic bodyweight move into an elite training tool.
Anatomy of a Push-Up: Muscles Worked

Push-ups are a compound bodyweight exercise, meaning they work multiple muscle groups at once. Here’s a quick breakdown of the major muscles involved:
Chest (Pectoralis Major)
- Primary mover in the push-up.
- Responsible for pushing your body away from the ground.
Shoulders (Deltoids)
- The anterior (front) deltoids assist the chest during the push-up motion.
- Help stabilize the shoulder joint.
Triceps (Triceps Brachii)
- Located at the back of the upper arms.
- Extend the elbows to push the body up.
Core Muscles
- Includes the rectus abdominis, obliques, and transverse abdominis.
- Keep your spine neutral and body aligned throughout the movement.
Back Muscles
- Serratus anterior helps stabilize the shoulder blades.
- Rhomboids and trapezius engage slightly for postural support.
Glutes and Legs
- The glutes, quads, and hamstrings help maintain body tension and stability in the plank position.
How to Make Pushups More Difficult: 5 Core Principles
Before we dive into specific push-up variations, it helps to understand how to increase the difficulty. Here are five proven methods:
1. Change the Leverage
The further your hands or feet move from your center of gravity, the harder the push-up becomes. For example, decline push-ups (feet elevated) shift more weight onto your upper body.
2. Slow Down the Tempo
Try slow push-ups (e.g., 3 seconds down, 3 seconds up) to increase time under tension, forcing your muscles to work harder.
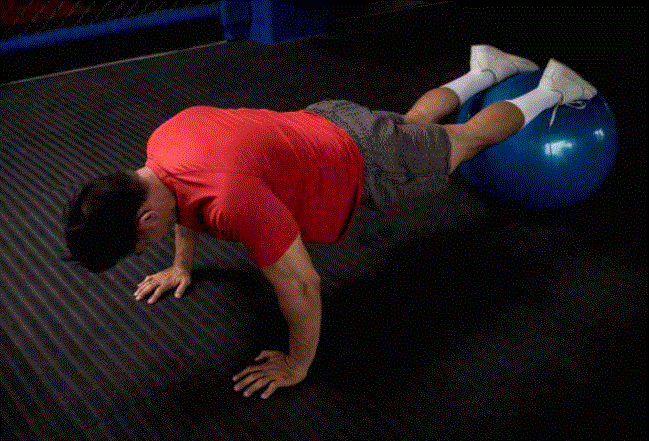
3. Add Instability
Use gym rings, a Bosu ball, or even a medicine ball to challenge your stabilizer muscles.
4. Increase Range of Motion
Place hands on parallettes or push-up handles and go deeper into the movement.
5. Incorporate Explosiveness
Plyometric push-ups like clap push-ups increase power and intensity.
Best Push Ups Exercises
1. Decline Push-Ups
Description:
Decline push-ups elevate your feet above your hands, shifting the emphasis toward the upper chest and shoulders. This variation increases the resistance compared to regular push-ups, making it a great progression.
How to do it:
- Place your feet on a bench or sturdy surface.
- Hands shoulder-width apart on the ground.
- Lower your chest slowly toward the floor while keeping your body straight.
- Push back up to the starting position without letting your hips sag.
Benefits:
- Builds upper chest and front deltoids
- Engages core more due to angle
- Increases strength without equipment
Pro Tip:
The higher your feet, the harder the exercise. Start with a low elevation and gradually increase as you gain strength.
Common Mistake:
Avoid arching your lower back. Keep your glutes and abs engaged to maintain a straight line.
2. Archer Push-Ups
Description:
Archer push-ups target one side of the body at a time. One arm extends out to the side while the other does most of the work, mimicking a side lunge for your upper body.
How to do it:
- Start in a wide push-up position.
- Bend one arm and lower your chest over it while the other arm stays straight.
- Push through the bent arm to return to the top.
- Alternate sides or do all reps on one side before switching.
Benefits:
- Builds unilateral strength
- Prepares you for one-arm push-ups
- Helps correct muscle imbalances
Pro Tip:
Keep your hips square and avoid rotating your torso.
Common Mistake:
Letting the inactive arm bend. Keep it straight to isolate the active side.
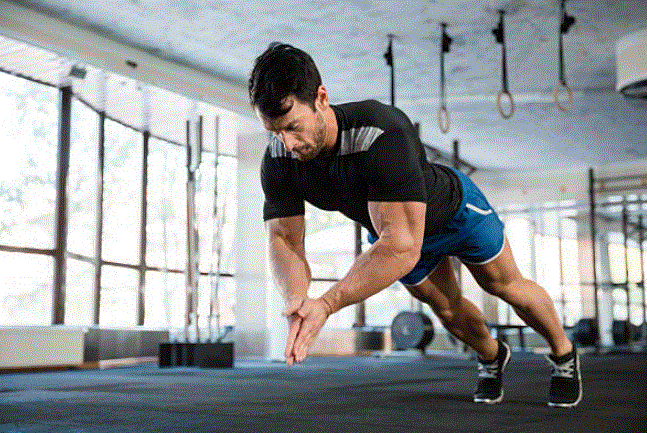
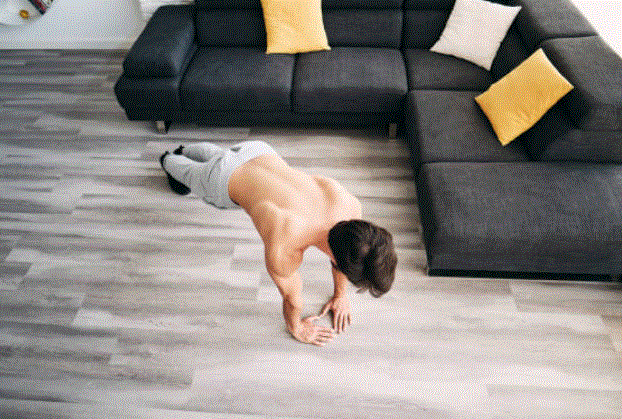
3. Pseudo Planche Push-Ups
Description:
This variation mimics the planche by leaning your body forward during the push-up, dramatically increasing the load on your shoulders and core.
How to do it:
- Start in a push-up position with hands slightly closer to your hips.
- Lean your body forward so your shoulders move past your hands.
- Lower down and push up while maintaining the lean.
Benefits:
- Trains planche-specific muscles
- Strengthens shoulders and wrists
- Enhances body control
Pro Tip:
Wear wrist wraps if you feel discomfort. Start with a minor lean and increase over time.
Common Mistake:
Bending at the hips or sticking your butt out — keep your body in one straight line.
4. Clap Push-Ups
Description:
Clap push-ups are a type of plyometric push-up that requires explosive strength to push your body off the floor and clap before landing.
How to do it:
- Get into a standard push-up position.
- Lower your chest to the ground.
- Push up explosively and clap before landing softly.
- Absorb impact with bent elbows.
Benefits:
- Improves power and speed
- Builds explosive upper-body strength
- Trains fast-twitch muscle fibers
Pro Tip:
Land with elbows slightly bent to reduce stress on joints.
Common Mistake:
Not controlling the descent — avoid slamming your chest into the ground.
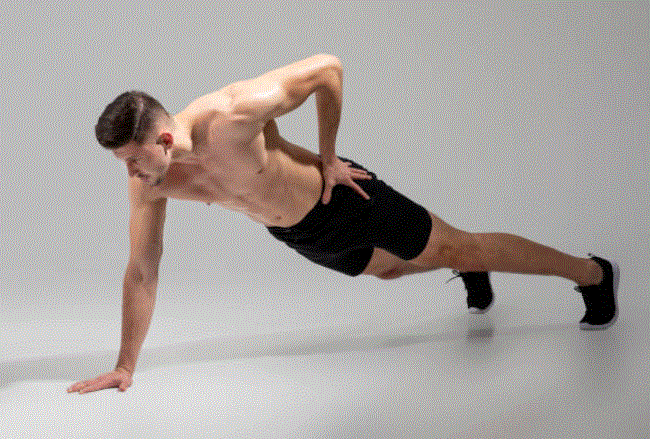
5. One-Leg Push-Ups
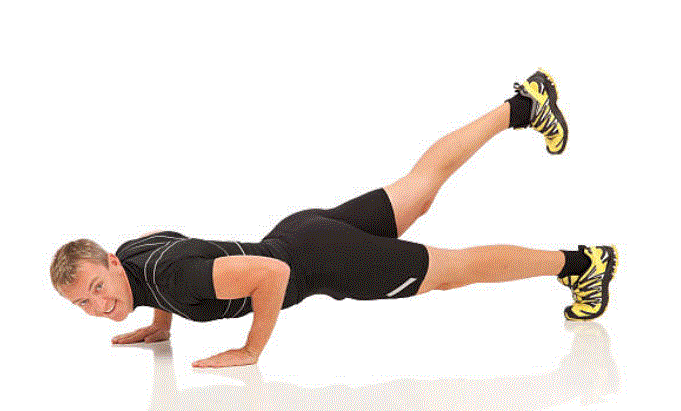
Description:
This core-intensive variation requires you to lift one leg off the floor, increasing instability and load on the upper body.
How to do it:
- Get into a regular push-up position.
- Raise one leg off the floor and keep it straight.
- Perform a push-up while maintaining balance.
- Switch legs halfway through or after each set.
Benefits:
- Enhances balance and coordination
- Strengthens glutes and core
- Adds difficulty without equipment
Pro Tip:
Keep your lifted leg tight and avoid letting it drift to the side.
Common Mistake:
Letting the hips rotate — engage your core to stay stable.
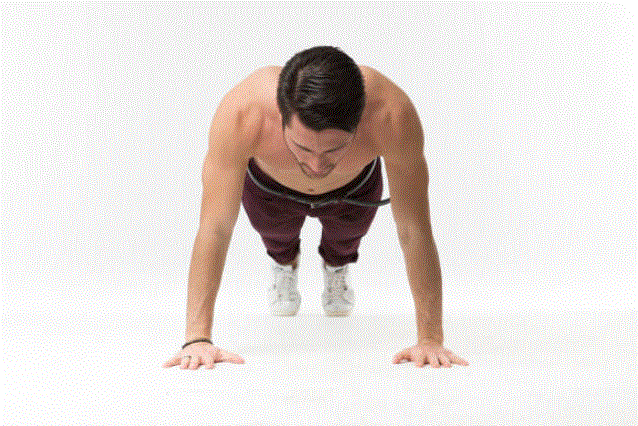
6. Spiderman Push-Ups
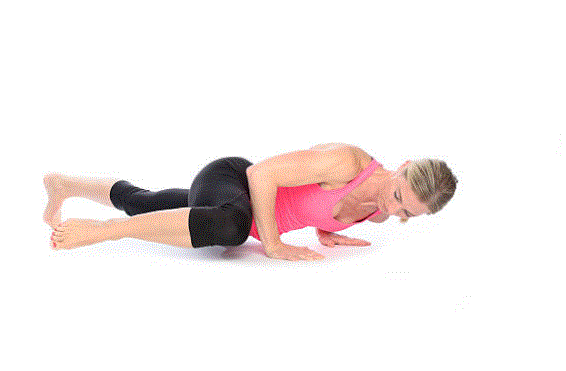
Description:
These target your obliques and improve hip mobility. As you lower your chest, one knee drives toward the same-side elbow.
How to do it:
- Begin in a push-up position.
- As you descend, bring your right knee to your right elbow.
- Push back up and return the leg.
- Alternate legs each rep.
Benefits:
- Improves mobility and core activation
- Adds variety to regular push-ups
- Challenges coordination
Pro Tip:
Go slow to maintain form. Focus on contracting your core.
Common Mistake:
Letting the hips drop — keep your body tight and aligned.
7. Typewriter Push-Ups

Description:
These combine elements of isometrics and movement, moving side-to-side at the bottom of the push-up to increase time under tension.
How to do it:
- Begin in a wide push-up position.
- Lower down and shift your chest toward your right hand.
- Slide across to the left hand, then push up.
Benefits:
- Increases chest and arm endurance
- Creates a huge pump
- Trains stability and control
Pro Tip:
Keep your elbows bent throughout the side-to-side motion.
Common Mistake:
Pushing up after one side — stay low and complete the full “typewriter” before rising.
8. Plyometric Push-Ups with Shoulder Taps

Description:
Combines explosive pushing with balance work. After each push-up, tap your opposite shoulder before repeating.
How to do it:
- Perform an explosive push-up.
- At the top, tap your left shoulder with your right hand.
- Repeat and alternate sides.
Benefits:
- Builds explosive strength
- Challenges core stability
- Improves coordination
Pro Tip:
Pause for a moment at the top to stabilize before tapping.
Common Mistake:
Rushing the movement. Prioritize control over speed.
9. Hand Release Push-Ups
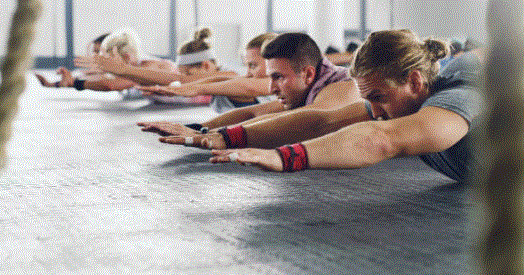
Description:
This forces full range of motion by lifting your hands at the bottom of each rep.
How to do it:
- Perform a push-up until your chest touches the ground.
- Lift both hands off the floor briefly.
- Plant hands and push back up.
Benefits:
- Prevents cheating with partial reps
- Builds strength from a dead stop
- Great for beginners and advanced athletes alike
Pro Tip:
Squeeze your glutes and shoulder blades when releasing hands.
Common Mistake:
Letting the lower back sag at the bottom — maintain tension.
10. Ring Push-Ups (Feet Elevated)
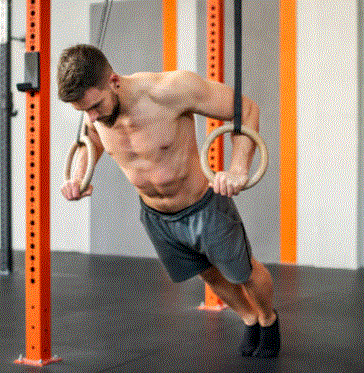
Description:
Performing push-ups on rings while elevating your feet adds instability and difficulty. It’s one of the hardest push-up styles.
How to do it:
- Set gymnastic rings a few inches off the ground.
- Place your feet on a bench.
- Perform push-ups while keeping the rings stable.
Benefits:
- Enhances stabilizer muscle strength
- Increases core engagement
- Boosts shoulder control and coordination
Pro Tip:
Start with rings low to the ground and progress to feet-elevated over time.
Common Mistake:
Letting rings drift too far apart — keep control throughout.
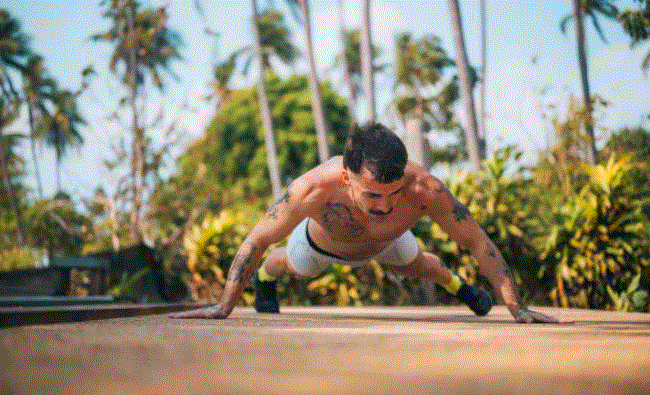
11. Wide-Grip Push-Ups

Description:
Spreading your hands wider than shoulder-width emphasizes the chest more than the triceps.
How to do it:
- Place hands about twice shoulder-width apart.
- Perform a standard push-up, keeping elbows flared slightly.
Benefits:
- Targets chest muscles more directly
- Easier on triceps and shoulders
- Helps build a wider chest
Pro Tip:
Flare elbows slightly but don’t go above shoulder height.
Common Mistake:
Lowering only partway — go all the way down for maximum activation.
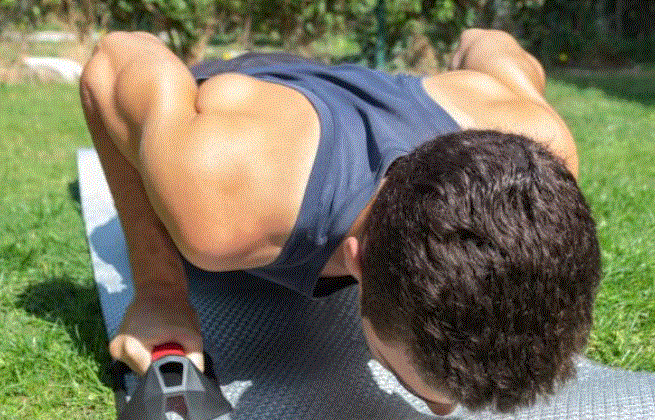
12. Diamond Push-Ups
Description:
These target the triceps and inner chest. They’re one of the most effective bodyweight triceps exercises.
How to do it:
- Place hands directly under your chest, forming a diamond shape with your thumbs and index fingers.
- Lower down and push back up while keeping elbows tight to your body.
Benefits:
- Strong tricep activation
- Builds inner chest definition
- Increases lockout strength
Pro Tip:
If this causes wrist discomfort, do it on push-up bars.
Common Mistake:
Letting elbows flare — keep them close to your sides.
13. Planche Lean Push-Ups
Description:
These build the strength needed for full planche training. The forward lean increases difficulty drastically.
How to do it:
- Place hands slightly below chest line.
- Lean forward so your shoulders go beyond your hands.
- Perform slow, controlled push-ups.
Benefits:
- Trains scapular control
- Builds shoulder and wrist strength
- Improves gymnastic skills
Pro Tip:
Film yourself to check your lean angle and adjust gradually.
Common Mistake:
Allowing your lower back to sag — stay rigid like a plank.
14. Weighted Push-Ups
Description:
An excellent way to build strength if bodyweight is too easy. Simply add resistance using a backpack or weight plate.
How to do it:
- Strap on a weighted vest or place a plate on your back (have someone assist).
- Perform regular push-ups with perfect form.
Benefits:
- Builds max pushing strength
- Scales easily for progression
- Ideal for strength-building phases
Pro Tip:
Use push-up handles for greater range of motion.
Common Mistake:
Letting form degrade due to added weight. Keep reps strict.
15. One-Arm Push-Ups
Description:
The most difficult bodyweight push-up. Requires total-body tension, balance, and immense pushing strength.
How to do it:
- Start with a wide stance for stability.
- Place one hand under your shoulder and the other behind your back.
- Lower under control, then push back up.
Benefits:
- Builds elite upper-body strength
- Develops core stability
- Boosts confidence and mastery
Pro Tip:
Start with negatives (lowering slowly), then work toward full reps.
Common Mistake:
Rotating your torso. Try to keep your shoulders square to the ground.
Sample Push-Up Challenge for Strength Progression
Want a structured plan? Try this 4-week push-up challenge using progressive overload.
1st Week
- Decline push-ups – 4×10
- Archer push-ups – 3×8/side
- Hand-release push-ups – 3×10
2nd Week
- Typewriter push-ups – 4×6
- Pseudo planche push-ups – 3×8
- Clap push-ups – 3×6
3rd Week
- One-leg push-ups – 4×8/side
- Spiderman push-ups – 3×10
- Weighted push-ups – 3×6
4thWeek
- One-arm push-up negatives – 3×5/side
- Planche lean push-ups – 3×8
- Ring push-ups – 3×10
Nutrition Tip for Push-Up Gains
Your push-up strength gains depend not only on training but also nutrition. Make sure you’re:
- Eating enough protein (1.6–2.2g/kg bodyweight)
- Supporting recovery with healthy carbs and fats
- Staying hydrated for optimal muscle function
Conclusion: Master Your Body with Harder Push-Ups
Knowing how to make pushups harder opens a whole new world of training possibilities. Whether you’re trying to break through a plateau or just push your limits, these push-up variations are an excellent way to build functional strength, stability, and upper body muscle — all without weights.
Summary:
Push-ups primarily target the chest, shoulders, and triceps, while also engaging the core, glutes, and stabilizer muscles for full-body strength and control.
Read More For Push Ups
Why Do My Elbows Pop During Push-Ups?
How Many Calories Does 100 Push-Ups Burn?